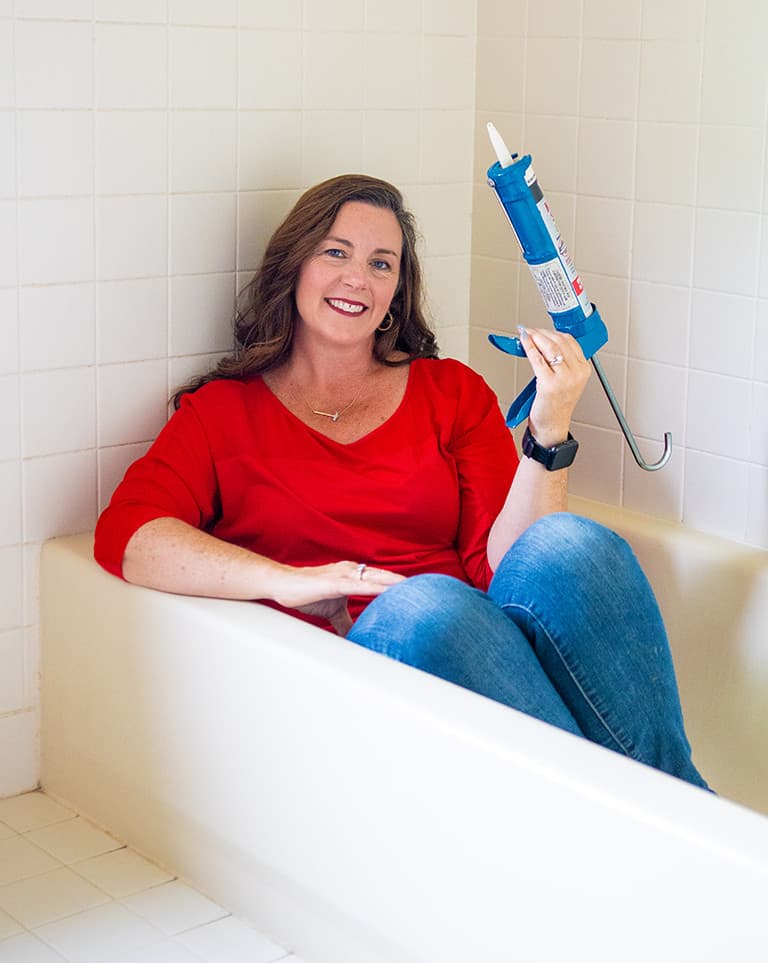
When the caulk on your bathtub starts looking black because of mold and mildew buildup, it’s time to replace it. It seems like a small fix, but it can make a huge difference for your bathroom–making it look fresh and clean, even if the tile is dated or old. This is a great way to spruce up your bathroom before selling your house, too!
Save hundreds of dollars with this easy DIY project. You’ll need a bit of patience and a steady hand, but you’ll also be surprised at the difference it’ll make in your bathroom.
Ready to get started? Here’s a step-by-step guide on how to caulk a bathtub with silicone. I’ve also got a video tutorial below.
- Gather your tools. This is a pretty straightforward project, so you won’t need too many items. You’ll need:
A utility knife
A scraping razor
Bathtub caulk and caulking gun
Rubbing alcohol
Paper towels
Make sure the caulk you buy is silicone-based, matches your tiles, and is specifically for plumbing use.
If you’re new to using caulk or are struggling: Here’s how to open a caulk tube, how to open caulk with a caulk gun, a handy caulk cover hack, and my FREE ultimate guide to caulk for beginners! - Plug up the drain in the bathtub. Old caulk scrapings that go into the bathtub drain can cause a future clog. Plug that drain up and you’ll be able to sweep away the scrapings easily.
(However, if you do get a clog, I’ve got a few videos on my YouTube channel that can help–whether you need a cheap and safe drain cleaner, an all-natural way to unclog your drain, or the best plunger to unclog a tub or sink. - Gently scrape at the old caulk with the razor. You don’t want to press too hard and scratch the tile. Eventually you’ll be able to pull out the caulk in large strips. If you feel some crumbling or harder pieces behind the stretchy caulk, that’s old grout that’s behind the caulk. It’s normal, but don’t remove the grout, just the stretchy caulk.
You might be wondering: When should I recaulk my tub? A tell-tale sign is when you start seeing mold and mildew buildup, or if it’s peeling or cracking on its own. Generally you can count on bathtub caulk to last three to five years, maybe more if you don’t use that bathroom regularly. - Clean your surface. Wipe all of the leftover debris from your caulk, and then go over the whole area with your scraper again to make sure every bit of loose caulk is gone. Once you’ve gotten rid of all the bits of caulk, wipe the area with paper towels and rubbing alcohol. The rubbing alcohol gets rid of any residue and helps the new caulk stick to the tub.
- Prepare your caulk and apply it. Again, if you need a refresher on how to do that, I show you in the video below, or you can take a look at some of the videos I link to in Step 1.
Apply your caulk in a thin bead. I like to pull the caulk away and run a thin line of caulk all along the edge. You can always add more, but it’s pretty messy to remove it if you add too much. - Spread the caulk. Grab a damp paper towel and wrap it around your finger and press it evenly into the surface. You can also use your bare finger, but do remember to wash your hands quickly because caulk can be pretty sticky!
If it’s thin, you can apply another layer. Wipe off the excess–you don’t want it going up the wall or on the tub. It should be a neat line. - Read the caulk directions. Depending on the type of caulk, you might need to wait a few hours or a day for it to cure before using the tub again.
Caulking is an essential DIY skill for homeowners. My YouTube channel has a ton of videos on caulk, and I’ve got a free mini-course on caulking for beginners. Want to know other essential DIY skills? Take a look at all of DIY HIP Chicks’ courses and subscribe on YouTube!
